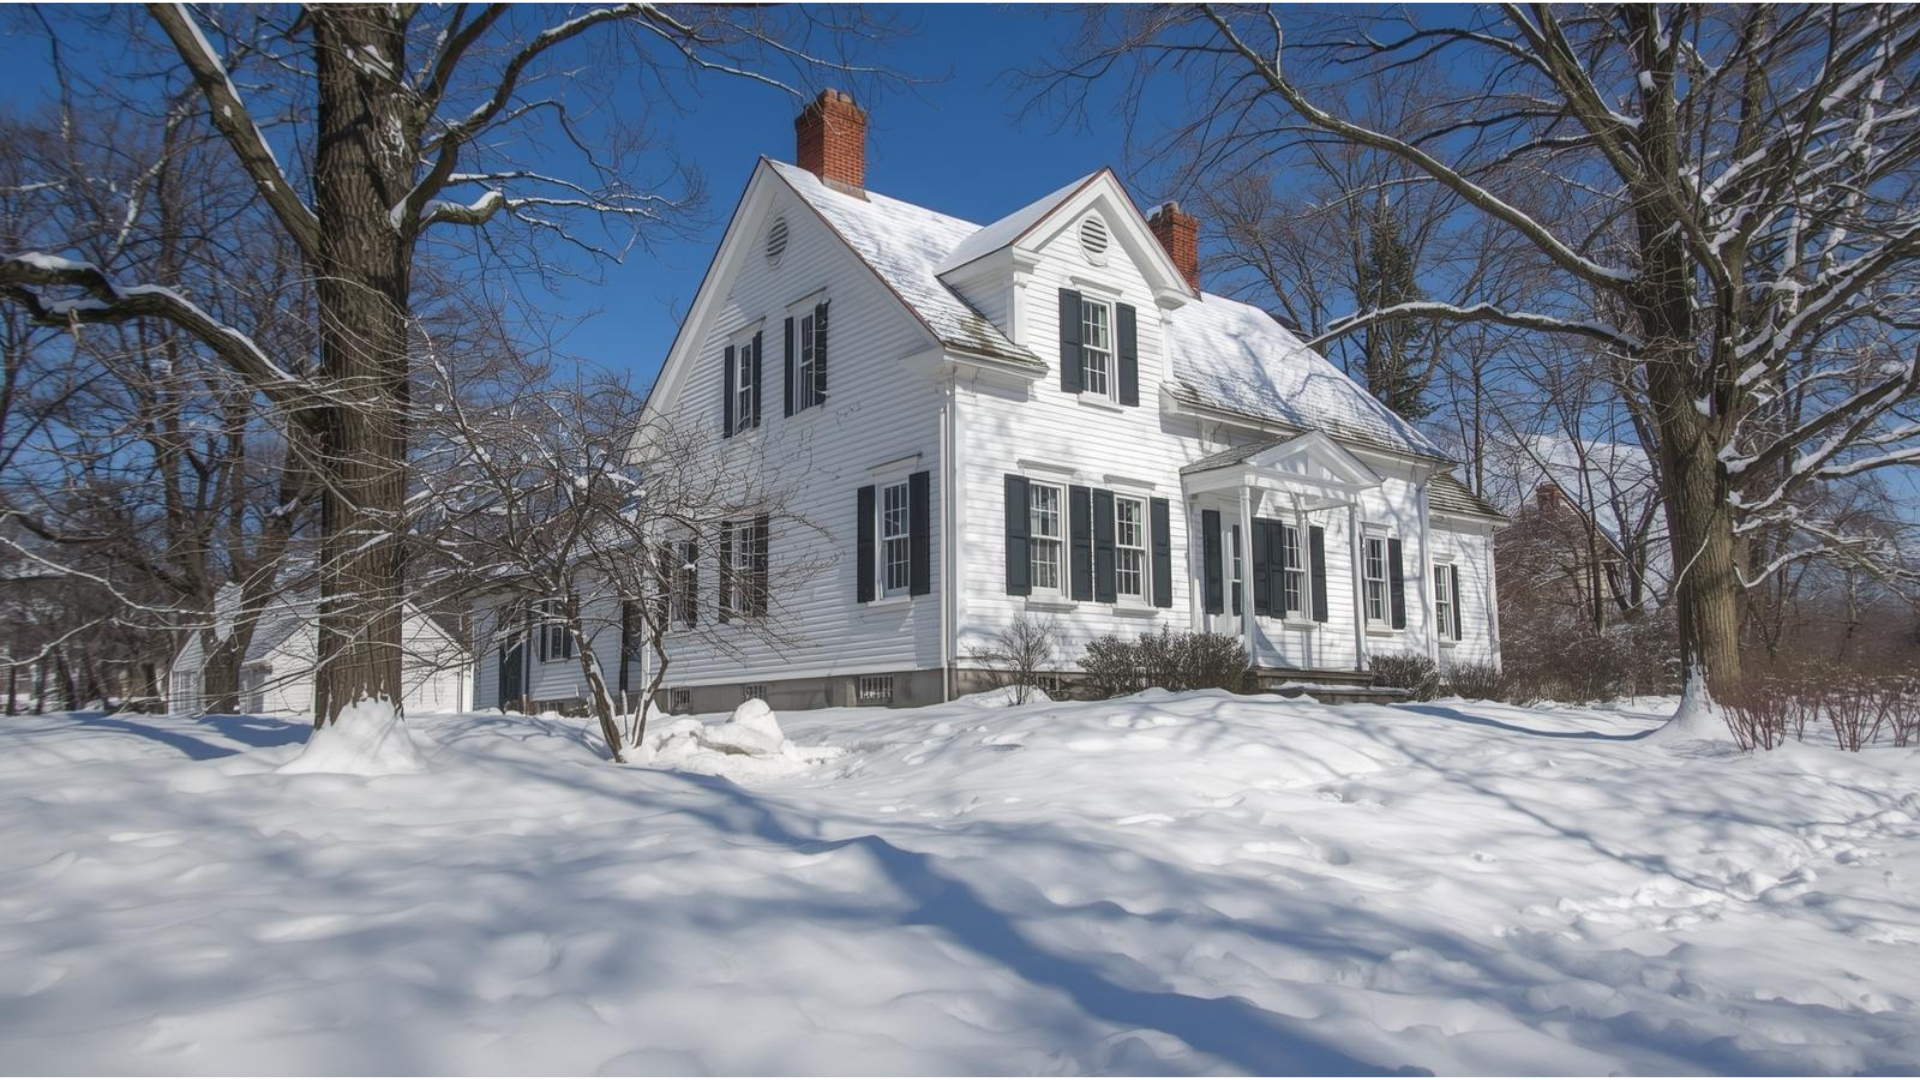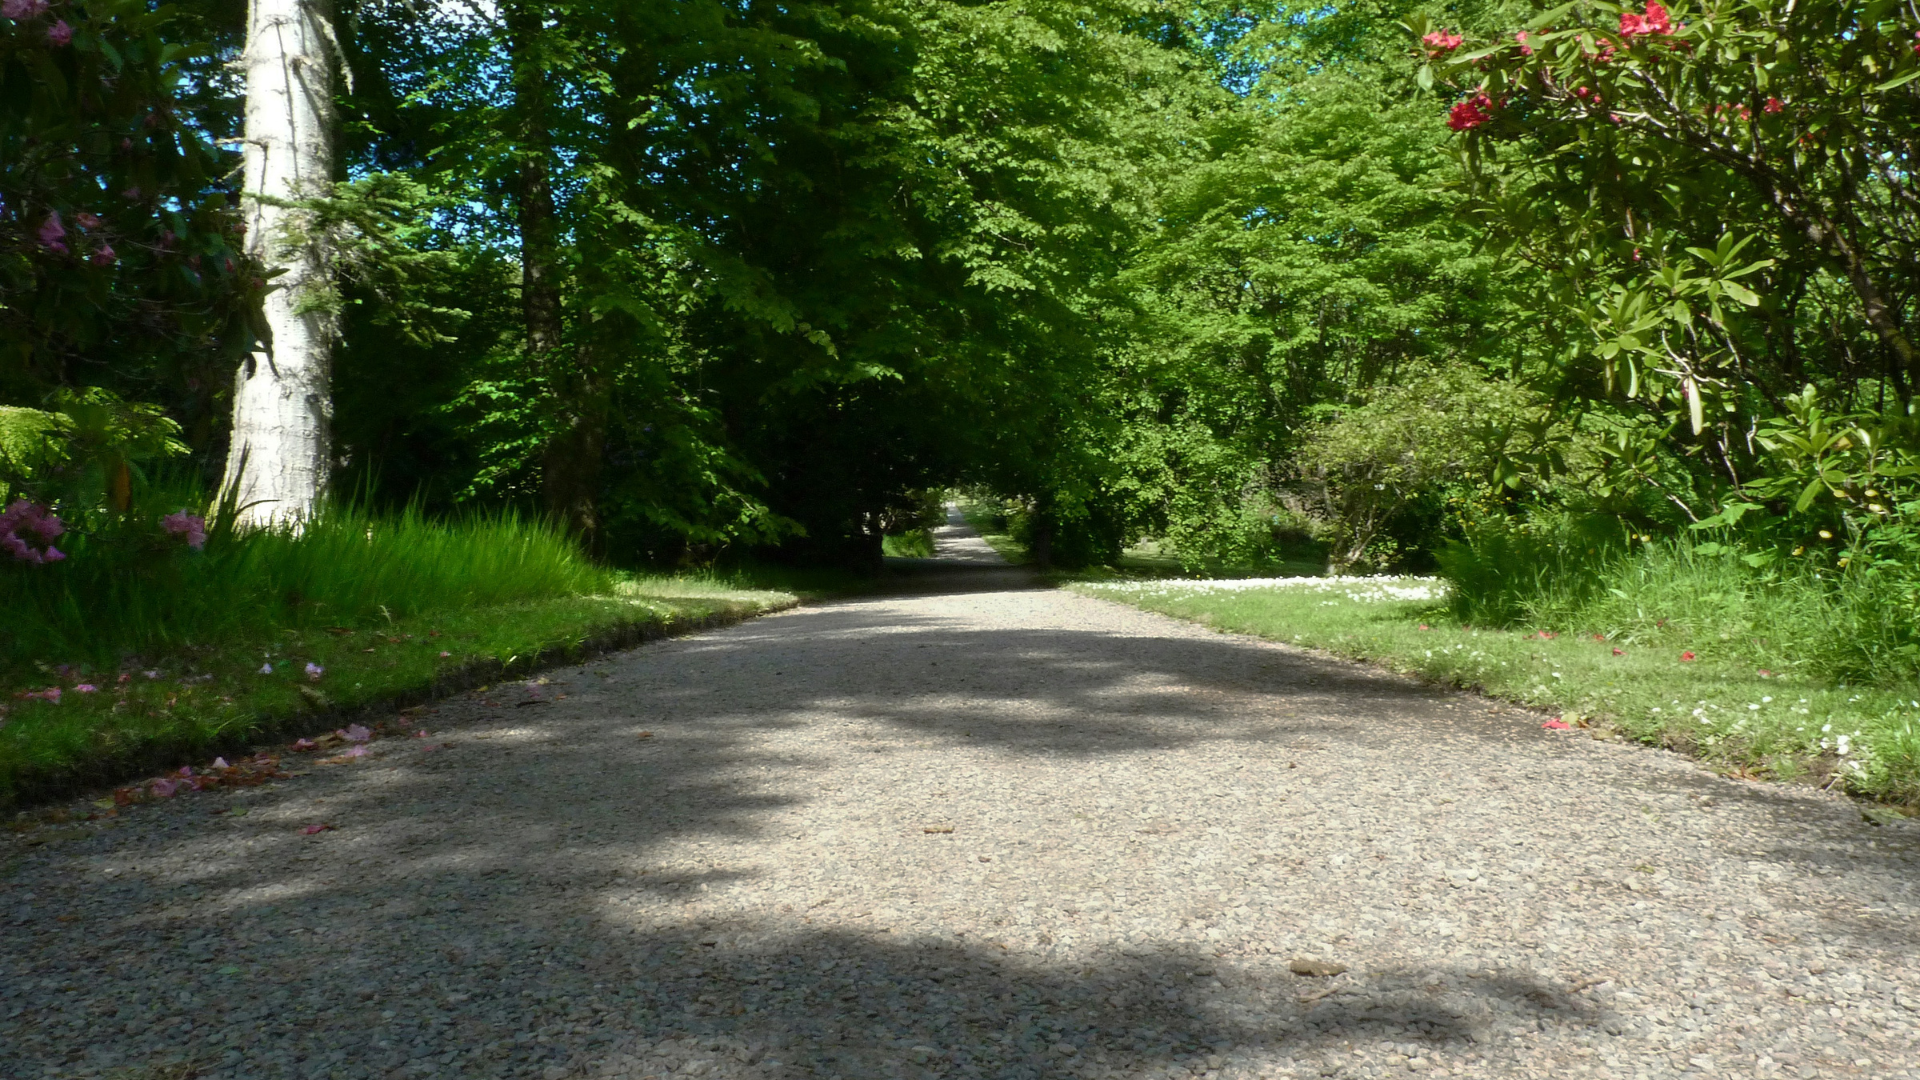
Not much exudes upland charm more than a beautifully maintained gravel driveway. On the flipside, not much creates headaches more than beautifully maintaining a gravel driveway! If you live in an area where you experience lots of rain and snow? You may frankly prefer to simply pave the entire thing and forgo the charm altogether. But if you’re locked into the pea gravel aesthetic like we are? We’ll share a few thoughts here that may help inform your decision-making process.
Getting Things Started
First, before you even address the finished surface, get the underlying structure right. Properly grading the driveway prevents years of insurmountable potholes, erosion, and mud. Hire local professionals who can properly design the driveway to slope away from structures (namely, your house) and understand how to shape a crown to promote proper drainage in the first place. Next, install a water-permeable, geotextile fabric barrier to prevent the soil from mixing with the gravel, which can create problems with drainage and compromise the overall stability of the driveway. Once completed, regardless of the finish technique you choose? You’ve already conquered the most important steps.
Gravel Technique Options
Next, unless you have a full-time grounds crew, we strongly recommend you consider chip sealing your driveway as opposed to strictly pouring gravel. This chip sealing technique is popular in many rural towns whose road maintenance crews use it because it is durable and less expensive than asphalt. At your home? Swapping out the typical gravel chips used by towns and replacing them with rounded pea gravel creates a trompe l’oeil effect that looks very much like an authentic, purely gravel drive, yet holds up far better to the elements and to snow plowing, in particular. The process also eliminates the need to regularly rake the drive and annually replenish the pea gravel. Should you use this approach, it is still important to tell whoever plows your drive in the winter to raise the plow a bit to avoid scraping the gravel from the tarred surface (known as bitumen) over time.
Let the Pros Do Their Thing
Much like grading and shaping the driveway, chip sealing is not a do-it-yourself process. It requires specialized equipment and an understanding of technique. The steps in the process will also be determined by the surface material on your existing foundational structure. For example, if you purchased a home with an existing asphalt driveway? Far less preparation will be required prior to beginning the chip seal process. If your home is a new build however, it is important to have a stable surface in place after the road’s structure is built. At our last upland home, we layered and rolled specialized gravel and crushed stone atop the graded driveway’s weed barrier after the driveway was built. This creates a stable surface at which point you can either 1) layer loads of straight pea gravel to your desired depth or 2) begin the chip seal process. If you decide to chip seal, a layer of hot bitumen will be sprayed over the compact gravel/crushed stone, and pea gravel will be added at a depth of approximately 1/2 inch. Finally, the crew will roll the pea gravel into the warm bitumen to create a surface mimicking a traditional gravel driveway.
Thoughts on Curbing
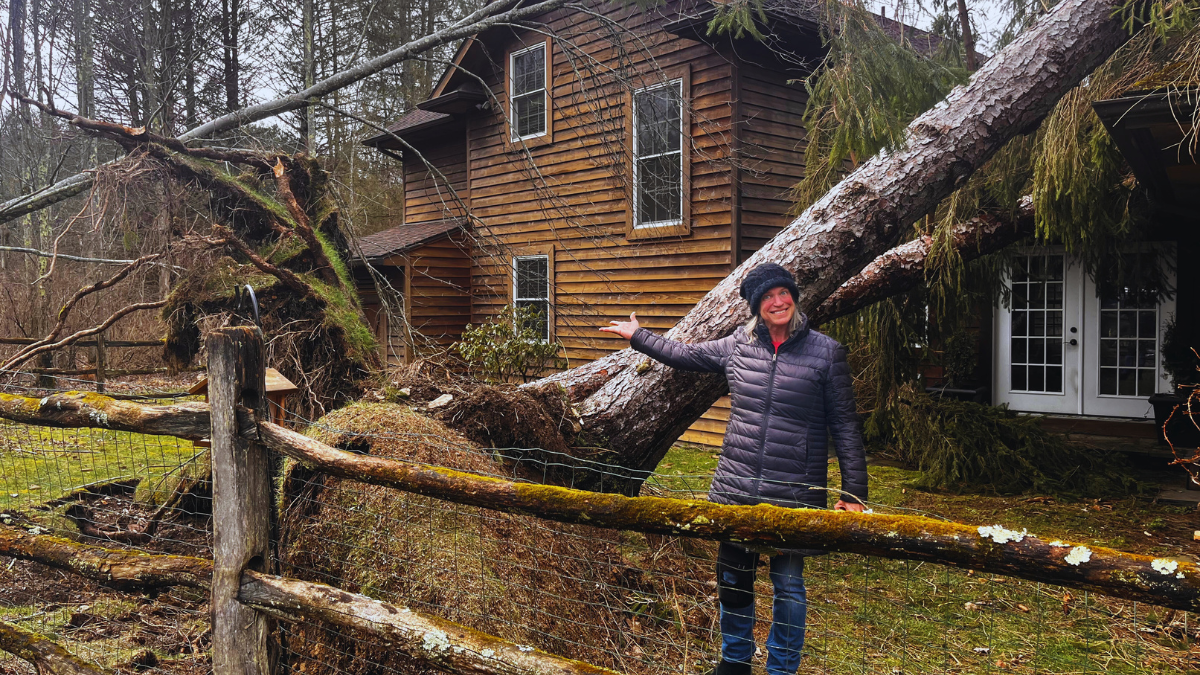
In the interest of full disclosure, we did not choose this route at our current upland home and regret it deeply. We are now faced with the significant challenge of starting over and the cumulative cost is far higher than had we simply done it right the first time. While we have decided to chip seal this go-around, we have not yet decided how to curb our rather long drive to create a more polished look. So I’ll let you in on our current considerations. Belgian block is stunning, but costly at roughly $25-$50 per linear foot installed. Further, delivery trucks and guests often hit these low, unobtrusive curbs, requiring ongoing maintenance. Poured concrete edging is also a possibility, but doesn’t do anything to create a raised curb—so it’s fine if you take the chip seal approach, but not very effective with a strictly gravel drive since it does nothing to contain the loose material. Further, concrete edging in a climate that has a frequent freeze/thaw cycle can be difficult to maintain. Metal or rubber rolls of edging run $5-$11 per linear foot and are relatively simple to install on your own, so this is something we’re considering. And finally? The other option is to not add curbing material at all. This can work as long as you keep the lawn from growing over the driveway with regular edge trimming and/or keep the driveway from spreading onto the lawn. We found our driveway circle has grown by at least 1/4 its original size over the years from snowplow mishaps and from cars trying to create space for circle traffic. Plow guides can help in the winter, but appropriate parking is something we’re building into our driveway refurbishment plans to solve the ongoing “spread” of the designated footprint.
We’ll keep you posted on our decisions and look forward in the meantime to hearing any thoughts from readers on what has worked for you or tips from your own gravel drive maintenance.