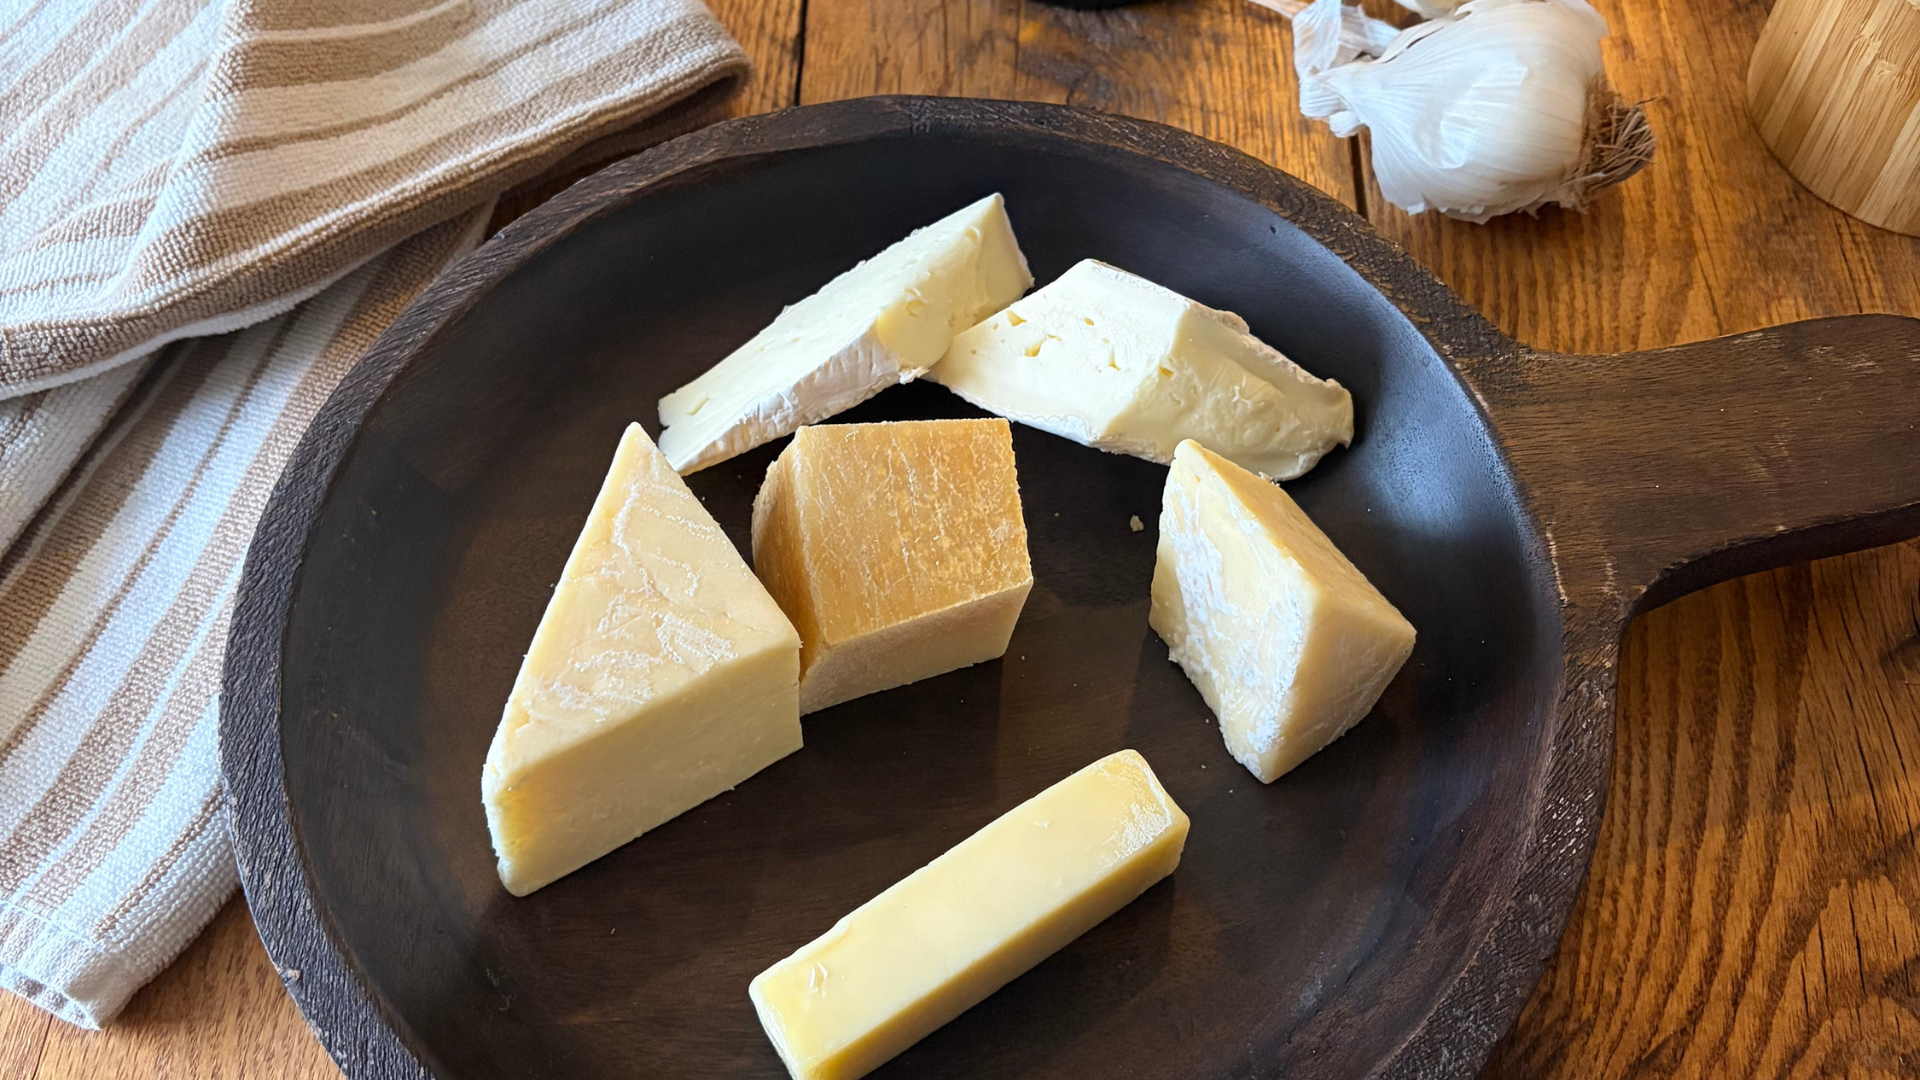
It’s mid-November as I’m writing, and it’s the start of the most wonderful time of the year in the uplands: Cheese Season! This is a 2-month extravaganza for our family, replete with fondue, fireside raclette, creamy baked bries bubbling with savory jams, and Stilton. Great Britain! Let’s not forget the Stilton. Typically, at least twice during this revelry, we must clear the bits and bobs of leftover cheeses from the fridge to make room for more. And this is how we discovered the rustic cheese spread known as Fromage Fort.
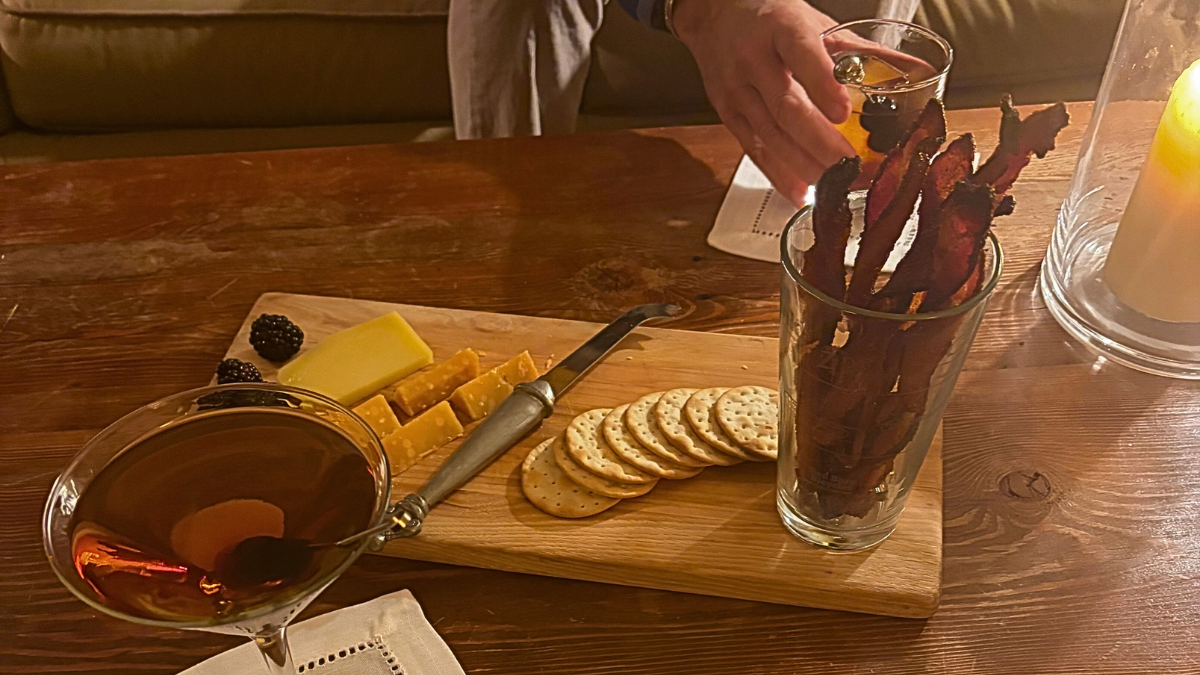
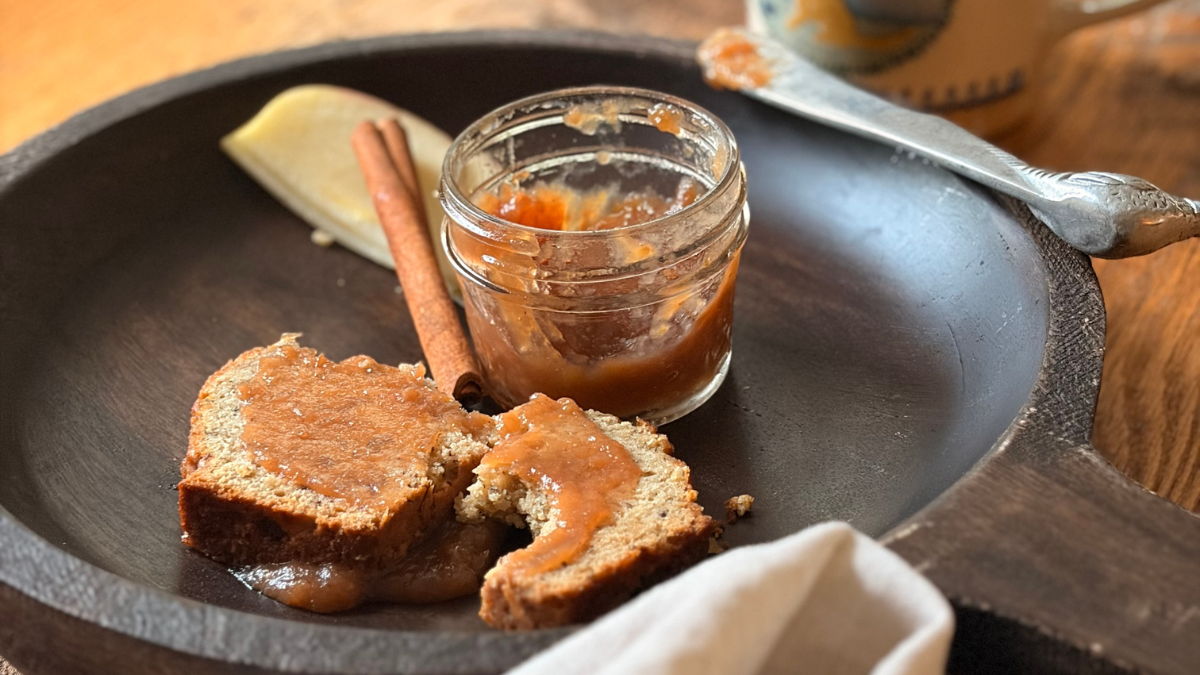
It seemed frankly disrespectful to dispose of perfectly good cheese bits simply because the small cuts looked shabby on a cheeseboard. Thank goodness the French knew exactly how to address this issue by simply blending these leftover nuggets with some dry wine, butter, and garlic, et voilà! A star is born. And as fabulous as this spread is on crackers? It is spectacular slathered onto a piece of toasted bread and finished under the broiler. Take it over the edge by topping this duo with arugula, a drizzle of vinaigrette, and a poached or gently fried egg. And you have a simple, yet elegant dinner or lunch. Or? Simply put the entire batch into a gratin dish, broil until bubbly, and serve with a crusty baguette and martinis. You’ll thank us for this wonderful addition to the holiday season (or any season), and your personal trainer will thank us in January. Cheers to cheese!
Fromage Fort
Ingredients
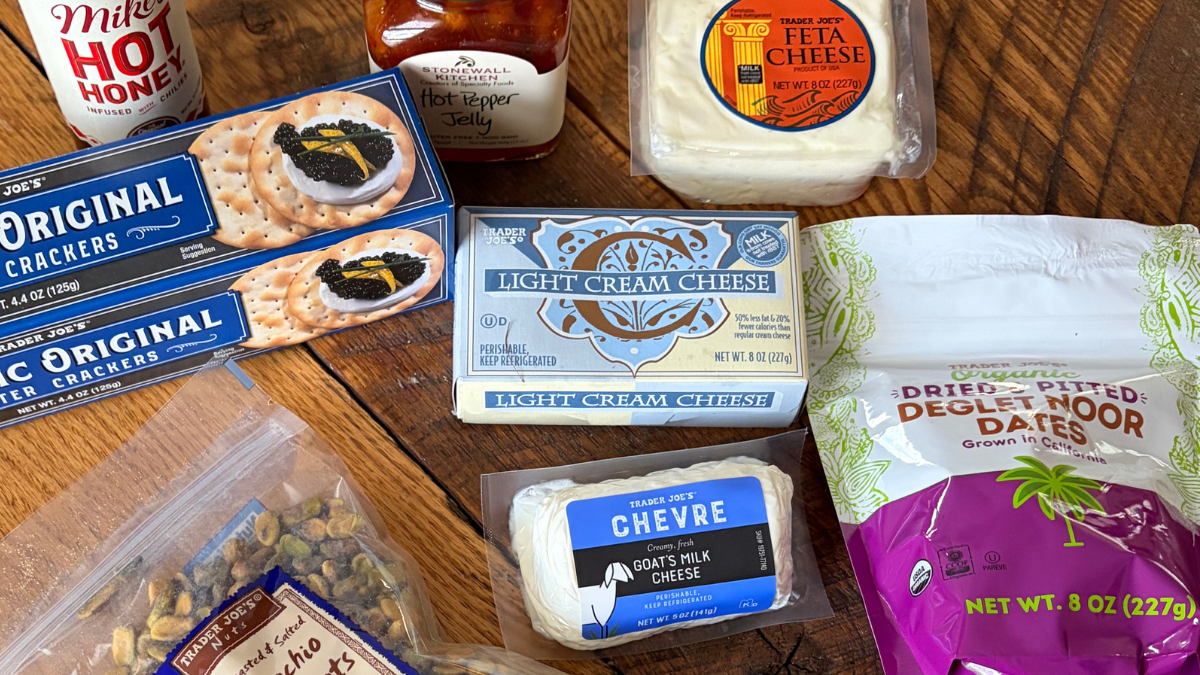
1 lb assorted cheeses (this spread works best with a balance of hard, soft, strong, salty, and mild cheeses. Cut to bits that are about 2 oz each (the size of your thumbs placed side-by-side). Really, just about anything works; it’s a matter of personal taste. I don’t typically use blues, for example, but you do you.
1/4-1/2 cup dry white wine
2 Tbs. butter, softened
1-2 small garlic cloves, grated
Salt/pepper, to taste
Herbs, if you’d like. Chives and parsley work well.
Directions
- In a food processor fitted with a metal blade, pulse all cheese bits (first torn or cut into smallish pieces, if necessary).
- Consistency will vary based on the types of cheeses you use. If using mostly hard cheeses, add butter to soften and help spread come together.
- Add wine. I do this slowly and watch for the mixture to reach a nice, spreadable consistency.
- Add garlic. This step should also be taken slowly as garlic cloves tend to vary dramatically in size. And since this garlic is raw, it can easily overpower the cheese, so just a bit at a time. I like to use a microplane zester to grate mine.
- Pulse in salt/pepper if needed. Some cheeses are more salty than others.
- Finally, fold in any minced herbs, if using.
- We serve (and store) ours in ramekins.
Serving Suggestions
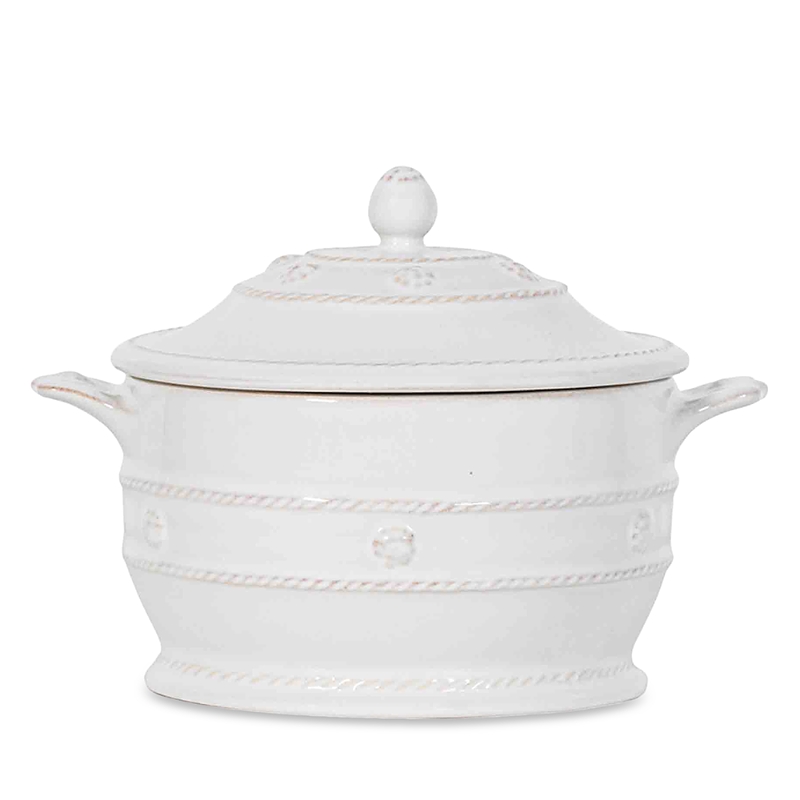
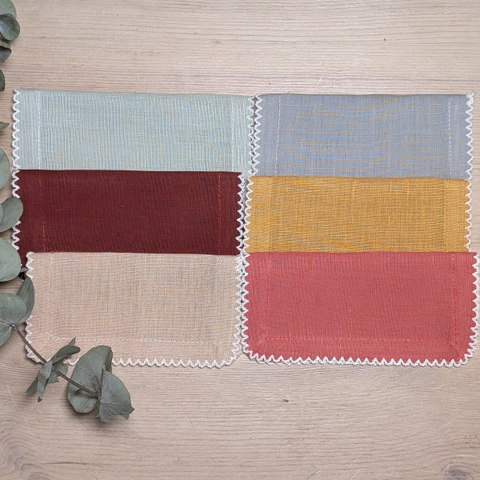
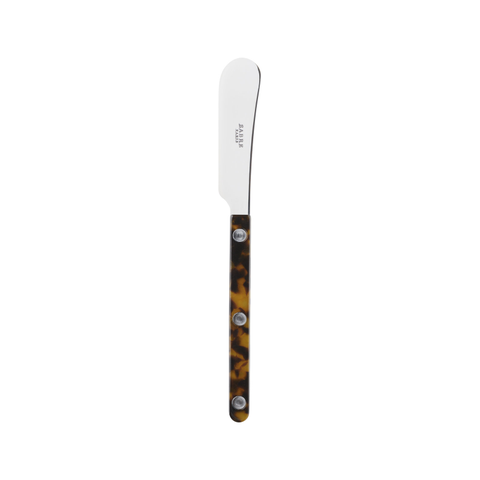
Although we’ve been using ramekins to store our fromage fort in the fridge (it can keep about a week if tightly covered), I think this cocotte by Juliksa Berry would be ideal storage. Not to mention, it goes beautifully from fridge to table. And rather than using a typically tiny cheese spreader for this, why not a butter knife? Honestly, the longer handle makes them nicely suited to the task. This tortoise-style version from the French company Sabre is stunning. And finally? I’m crushing on Maison Flâneur’s collection of cocktail napkins! Each set is better than the next.